Hello!
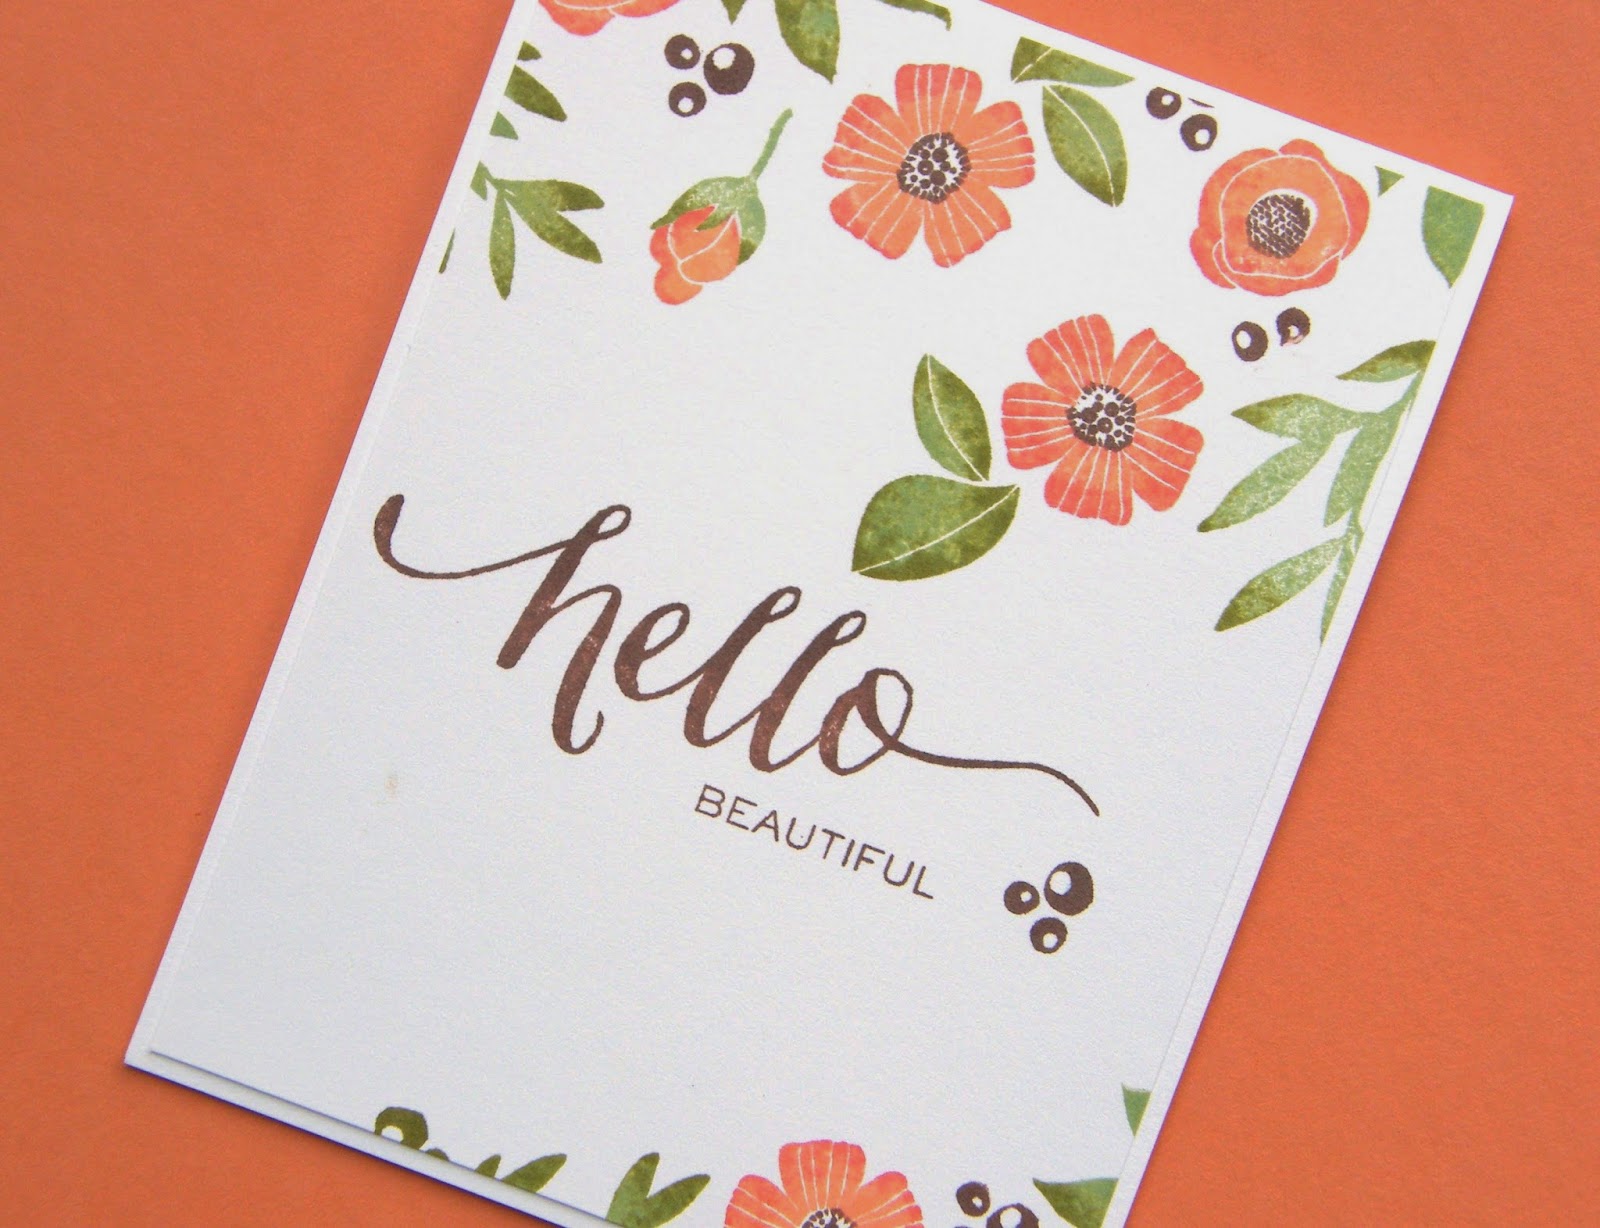
Today I have fun, colorful, birthday cards to share with you.
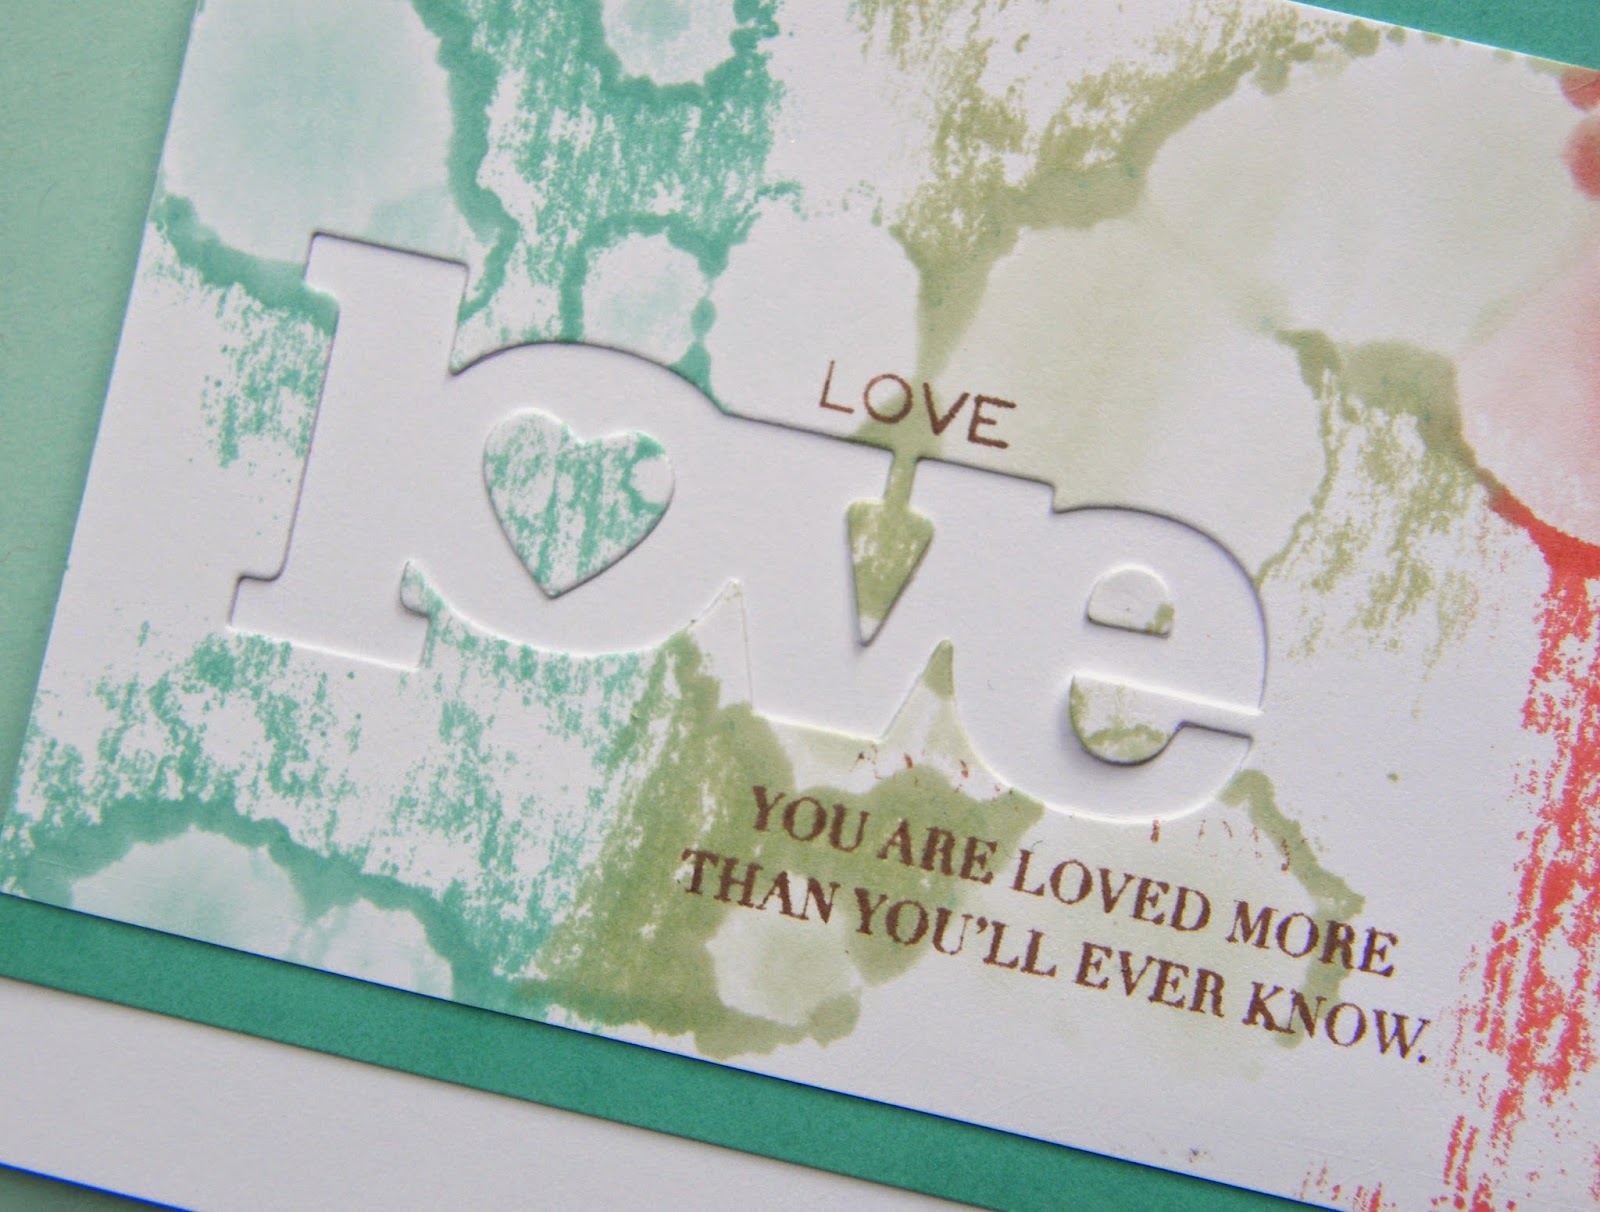
I thought it would be fun to try to stencil with Glossy Accents!

I taped my cardstock down to my work surface and then taped the stencil over top using blue painter's tape. The more contact you have between the stencil and cardstock the better. You don't want the glossy accents to spread underneath the stencil. When it did it made a mess and ripped the paper when I removed the stencil.

I found that applying some glossy accents to my palette knife directly and then spreading it over the stencil worked the best. Also, spreading in one direction helps to prevent the glossy accents from squishing under the stencil. Once I had good even coverage, I let it sit for just a few seconds to help it set up. Then I slowly removed the tape and the stencil from the paper and set it aside to dry.

Once it's dry there are so many things you could do with it.
I decided to add color using distress inks and on my second card I die cut it.


It's a really fun technique for adding some shine and dimension to your projects!


So nice to have you stop by!

Hey There Cupcake
Cardstock: WP9 White
Stamps: WP9 Sweets & Treats
Ink: Memento Black
Dies: WP9 Conversation Bubble Dies, Sweets & Treats
Other: Glossy Accents, HS Stencil, Distress Inks in Mowed Lawn, Wild Honey, Peacock Feathers, Worn Lipstick, Copic Markers
Happy Birthday Wishes
Cardstock: WP9 White, PTI Black
Stamps: WP9 Whole Lotta Happy
Ink: Versafine Onyx, PTI New Leaf, Hawaiian Shores, Berry Sorbet
Dies: WP9 Whole Lotta Happy Dies
Other: Distress Ink, HS Stencil, Glossy Accents