Hey! Two days in a row. What do ya know? Summer break is almost over and I think I'm starting to feel that urge to pack everything into my days before going back to work. This morning I got up, got my coffee, and went straight to my craft room.
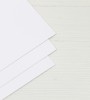
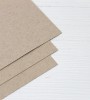
 I pulled out a few pieces of kraft cardstock and stamped various panels with the different text from PTI's Background Basics Text Style stamp set. In the end I preferred the print version over the script for this design. Once I stamped the text in black I allowed it to dry. I knew I would be embossing over the text and I wanted to ensure that the powder only stuck to the images.
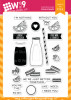
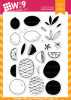
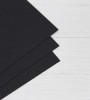
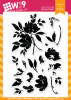
 I tried a few different images and combinations of sets, but I really loved the look of these images from Waffle Flower's Wild And Free stamp set. I stamped the images in white ink because I wanted to be able to see where I was stamping all of the images. White pigment ink stays wet and embossing powder sticks to it well. If I had used Versamark ink, which is clear, it would have been more difficult to place my images all at once and heat at the end.
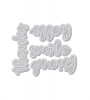
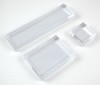
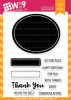
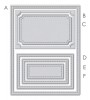
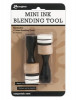
Once all of my images were heat embossed I added some aging to the paper using Distress Inks and a blending tool. I used a damp chamois to wipe clean the white embossing. I added small vellum overlays with a stamped and embossed sentiment from the same stamp set. Those were cut with the second largest rectangle in the 4 Bar Stitched Rectangle set from WP9.
I die cut the heat embossed panels with stitched rectangle dies and now I have white embossing stuck to my die. Any suggestions for how to remove it? I suppose I could try heating it to re-melt it and then wipe it off.... I'm going to try that!
Products used are linked below.
{affiliate links used}