Pages

Showing posts with label sketch challenge. Show all posts

Snow Day

Saturday, January 23, 2016

 
Hello! You've probably heard by now that the Northeast of the US is getting a big snowstorm or you're buried under it like we are!  I'm taking the opportunity to do what I love most {not including Ryan and Piper, of course ;)}
Craft and Bake!
 
 
I had some bananas that were on their way out so I decided to bake some banana bread.  Unfortunately, I realized I didn't have enough butter and running to the store was not an option.  This is why I love Pinterest!  I typed 'banana bread with oil' into the search bar and a recipe came up that used coconut oil instead of butter.  That I have!  Here is the recipe I used.  It turned out great.  I threw in some chocolate chips because......chocolate!
 
 
For my card today I incorporated three challenges {all linked below}.  I love leaves stamped in non-traditional colors.  For these I used Warm Wool, Cranberry Crush, Little Piggy, and Wild Mango.  All are WPlus9 PURE Color Dye Inks.  I stamped some of the leaves onto the card front.  Some are stamped on die cuts and tucked under the banner.  I added the little love bunnies among the leaves.
 
 
Thanks so much for stopping by.
I hope you are warm and dry!


*Some Affiliate Links Used

Hello {Masked Stripes}

Wednesday, September 2, 2015

 
 Hello! Just stopping in really quickly to post a card I made after work today.  Work? I know!  Summer is over and school is starting.  As much as I will miss summer, I am looking forward to the school year!
 
In order to follow the sketch I decided to do some masking.  I started by cutting a piece of inexpensive paper to the size rectangle I wanted on my card front.  I temporarily adhered it in place so that I could mask off around it.  Once that was in place I removed the rectangle and any residue from the adhesive.  I then placed another mask in a thin strip along the bottom.  Once all of my masks were in place I applied ink using a stencil.  After that, I removed all masks and stamped my sentiment. 
 
Thanks so much for stopping by today!


Cardstock: WP9 White, Black
Stamps: PTI Graceful Greetings
Ink: WP9 Sweet Gelato, Ocean Drive, Hayride, Black
Dies: SSS Stitched Rectangle Dies
Other: Heidi Swapp Stencil, Sponge Daubers, Post-It Tape, TomBow Temporary Adhesive

Live Your Dreams + FIF #230 {Special Instagram Edition}

Friday, August 7, 2015

 
 TGIF!
I'm really excited because Monday starts the August WPlus9 Release Week {the products are great as always} and because I'm leaving on Wednesday for Florida!  I grew up in FL and haven't been for a visit in over 10 years.  I'm going alone and staying with an old friend!  It is going to be so much fun.  I will have all the release week posts scheduled before I go though, don't worry ;)!


This card features a wonderful stamp set called Dream Believer.  I love it mainly because I'm obsessed with feathers.  This set has fabulous encouraging sentiments too!  There may be a PURE Color Dye Ink color or two there that haven't been released yet!!  Shhh... don't tell Dawn!
 
 
This week's Friday Inspiration File is a special Instagram Edition.  All of these are beautiful projects shared on some of the Instagram feeds I follow.  I usually pull from the blogs I follow on Feedly, but that was leaving out a ton of great projects I scroll through daily over on IG.  Check them out!  #230
 
Have an inspired weekend!


Cardstock: WP9 White, Black
Stamps: WP9 Dream Believer
Ink: WP9 Ocean Drive, Wild Mango, Black, ?, ?
Dies: WP9 Love Mom Layers Dies
Other: Enamel Dots, Vintage Black Thread

Adding Glitter With Die Cut Adhesive Sheets

Friday, July 31, 2015

 
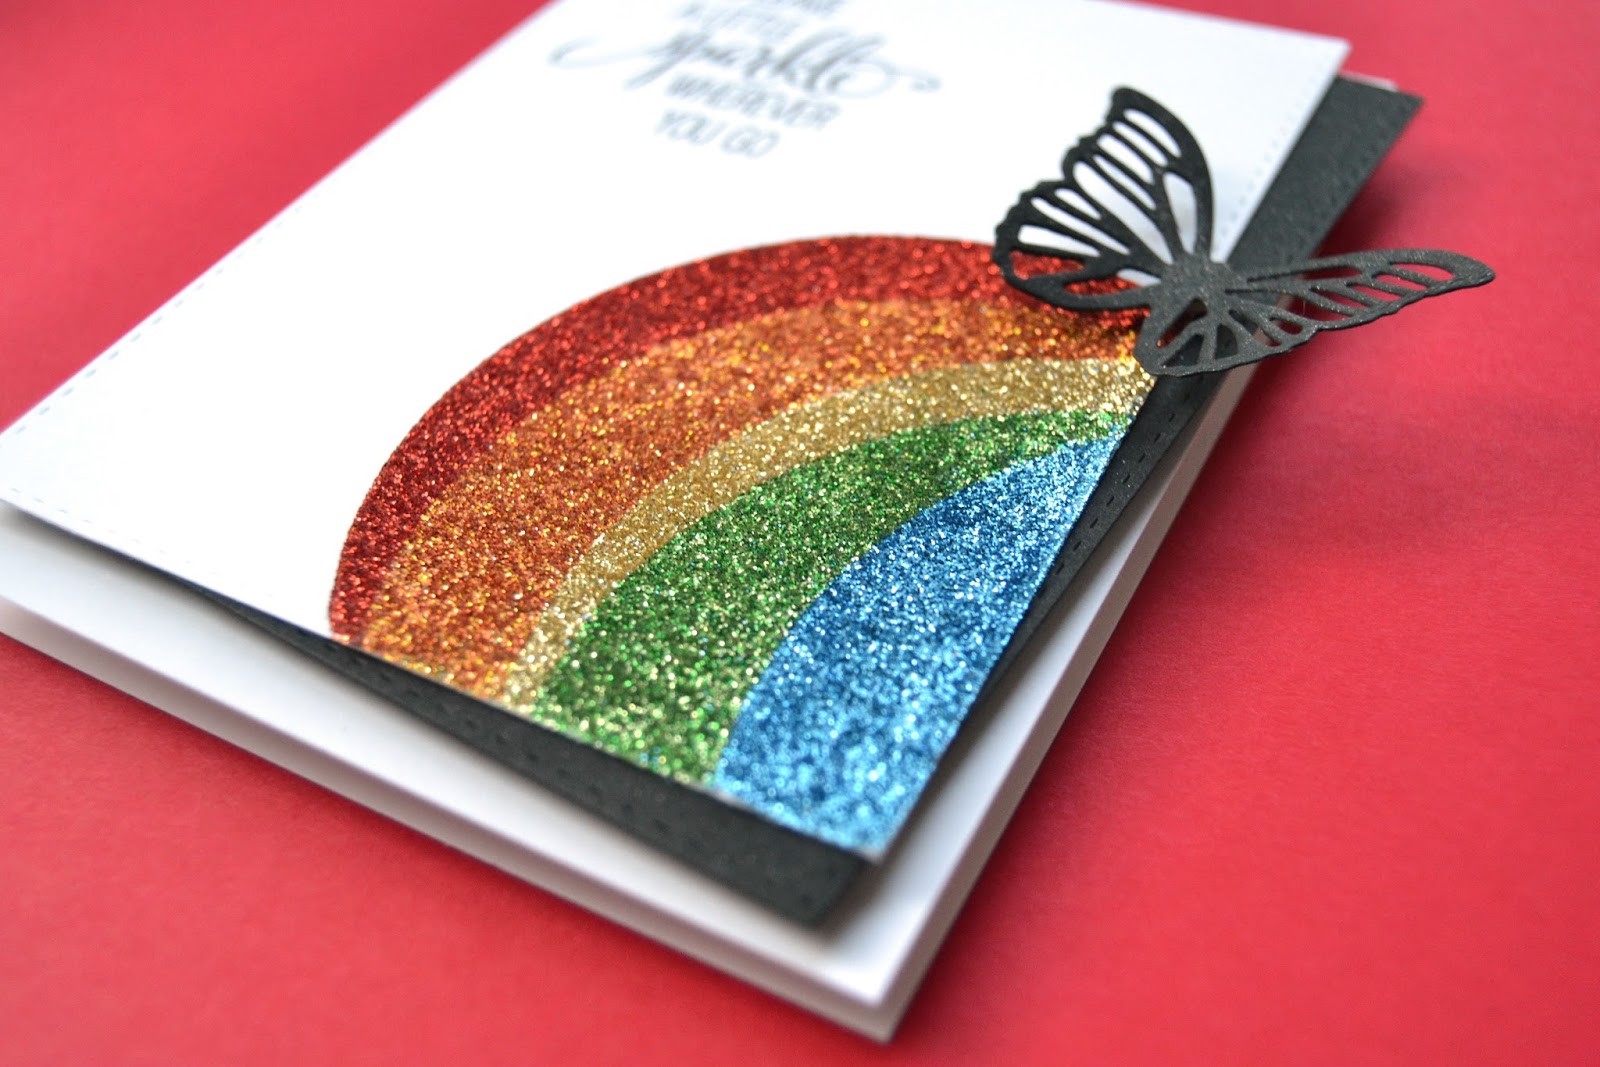
I was so inspired by the sketch, I decided to create another project for this week's CAS(E) this sketch! Challenge.
 
 
 I die cut the large corner piece from a sheet of double sided adhesive.  {This is my favorite} I then die cut that piece into different sized curves.  Removing the backing from only one side, I pieced the circle back together into the corner of a card front.  Once all of the pieces were in place and the partial circle was reconstructed, I die cut the card front using a stitched rectangle die.
 
 
Now, I could remove the front release paper to reveal the adhesive in sections and add my glitter.  I burnished the glitter into the adhesive with my finger to make sure there was good coverage.  It also ensures that glitter doesn't come off later.  Once this was done I searched for just the right sentiment.  I chose this one from Sparkle and Shine.  I added a layer of black cardstock and a black die cut butterfly.  All of the visible black cardstock got a coat of clear Wink Of Stella!
 
 
Thanks so much for coming by.  Have a great weekend!
New projects have been added to the Friday Inspiration File.  Enjoy...#229!


Cardstock: WP9 White, Black
Stamps: WP9 Sparkle and Shine
Ink: WP9 Black
Dies: WP9 Small Butterfly Frame Die, LF Circles
Other: Double Sided Adhesive Sheets, MS Glitter, Wink Of Stella Clear

It's Been Too Long

Thursday, July 30, 2015

 
Hi!
Today's card was a lot of fun to make.  I started by die cutting a circle from the corner of a piece of copy paper.  I used both the positive and the negative pieces to create my mask.  I placed them on my card front and sponged on the orange dye ink.  I used the same masks and moved them towards the corner of the card front making sure to cover the orange ink completely, but right to the edge because I didn't want any white space between my colors. I think that would look cool, too, though!  I alternated the thick and thin ends of the sponged areas.
 
 
I repeated the process again to sponge on the navy ink.  Because I was gong from navy to pink, I created a new set of masks.  I didn't want to contaminate the pink with the dark blue.

 
Once all of my ink was sponged on, I stamped my sentiment.  I curved the sentiment on my block to match the line of the orange ink.  I attached a die cut butterfly to draw your eye to the sentiment.  I chose this butterfly, in particular, because it is not solid and allows the color to come through.

 
Thanks so much for stopping by!


Cardstock: WP9 White, Black
Stamps: WP9 Hand Lettered Hello
Ink: PTI Summer Sunrise, Melon Berry, Enchanted Evening, Berry Sorbet, Versafine Onyx
Dies: WP9 Small Butterfly Frame Die, LF Circles, SSS Stitched Rectangles
Other: Sponge Daubers

Get Your Sunglasses

Monday, July 20, 2015


Today I have two {very} bright cards to share.  I don't normally use colors like this, but today I was drawn to them.  I wanted to work with a little ink blending and masking.  I used distress inks in the colors Mowed Lawn and Mustard Seed. On this first card, I die cut a square of white cardstock.  Using removable adhesive, I temporarily adhered the square to my craft mat.  I came in from one end with the yellow and in with green from the other end.  You could blend the colors on a larger piece of cardstock and die cut after to make it a bit easier to work with, but I like that the edges end up a bit darker as you move from the craft mat onto the cardstock.
 
 
I positioned a square of copy paper onto the center of my card front and temporarily adhered it {it was left over from the mask I created for my second card}.  I stamped my sentiment and the butterfly in the same position as they were on the ink blended square so that when I placed the square on the card front the sentiment and butterfly image would line up.


For my second card I created a mask that left only the square portion of the card front open.  I added distress ink the same way as before.  I removed the mask and stamped my sentiment and butterfly in Versafine Onyx ink.  I have a wonderful marker, that I have shared before, that is perfect for filling in any imperfections in stamping.  It's a black Pitt Pen by Faber Castell. 
 
 
Thanks so much for stopping by!


Cardstock: PTI White, WP9 Black
Stamps: PTI Beautiful Butterflies
Ink: Distress Ink, Versafine Onyx Ink
Dies: PTI Beautiful Butterflies, PS Stitched Frame Dies ,SSS Stitched Rectangles
Other: Faber Castell Pitt Pen
Proudly designed by | mlekoshi playground |