Pages

Congratulations

Tuesday, April 28, 2015

 
Talk about clean and simple, this little card is it.  I just loved those simple little circles all lined up in the corner.  Those little dots started as a piece of cardstock with white heat embossed triangles from Twenty Fifteen.  On top of the triangles I layered several colors of PURE Color Spray Mist in Sweet Gelato, Bloomsberry, and Lake House.


The circles were die cut using this awesome die from Simon Says Stamp called Mod Window.  To add just a bit more detail, the card panel was die cut using the Love Mom Layers Dies.  I finished it off with a simple little sentiment from Smart Kitty.


The WPlus9 PURE Color Spray Mists are awesome. 
You can even create marbleized paper with them ;)
Thanks for stopping by!


White On White With A Pop Of Color

Wednesday, April 22, 2015

 
Hello! Happy Wednesday.  A big rain storm is on it's way. Our grass is a beautiful bright green so these April showers are worth it.
 
 
I absolutely loved Lexi's Make It Monday this week.  Her samples were beautiful and I couldn't wait to look through my dies and choose something for this white on white design. After adhering several die cuts to my panel, I die cut the whole thing with the Love Mom Layers die from WPlus9. 
 
 
Hope you're having a great week!


Cardstock: PTI White
Stamps: PTI Sweet As Can be
Ink: WP9 Coconut Husk, Ocean Drive
Dies: PTI Sweet As Can Be, WP9 Love Mom Layers

Copic Swipes

Saturday, April 18, 2015

 
During the recent WPlus9 release I was working on a project and was choosing the Copic colors I wanted to use by testing them out on a piece of white cardstock.  I wanted to find a few pinks and a few greens to color some flowers and leaves from the new Love Mom Layers DiesWell, that little test piece turned out to be so beautiful with swipes of copic colors that I decided to use it as a technique for my cards.


I started by making a mask using a large heart die.  I chose four colors, and after positioning my mask, I swiped each color randomly coming in from the right and left.  For the pinks and reds I chose R20, R30, R22, and R35.
 
 
 Once my color was added I removed the mask and die cut the panel with the rounded stitched rectangle die from Love Mom Layers.
 
 
Over top of the marker I stamped a few different sentiments from the Love Mom Stamp Set.  I love the font!

 
Very simple and easy to do.  It reminds me of a wonderful little book I recently heard about, Beautiful Oops!
Thanks for visiting!


Umbrella
Cardstock: WP9 White, Green Acres
Stamps: WP9 Love Showers
Ink: Versafine Onyx
Dies: WP9 Love Showers Layers, Sunshine Layers, Love Mom Layers
Other: WP9 Shimmer Spray Mist, Copics, PPP Sequins

Copic Hearts
Cardstock: WP9 White, PTI Blueberry Sky, Sweet Blush
Stamps: WP9 Love Mom
Ink: Versafine Onyx
Dies: WP9 Love Mom Layers, SS Large Heart Die
Other: Copics

It Won't Be Easy

Thursday, April 16, 2015

 
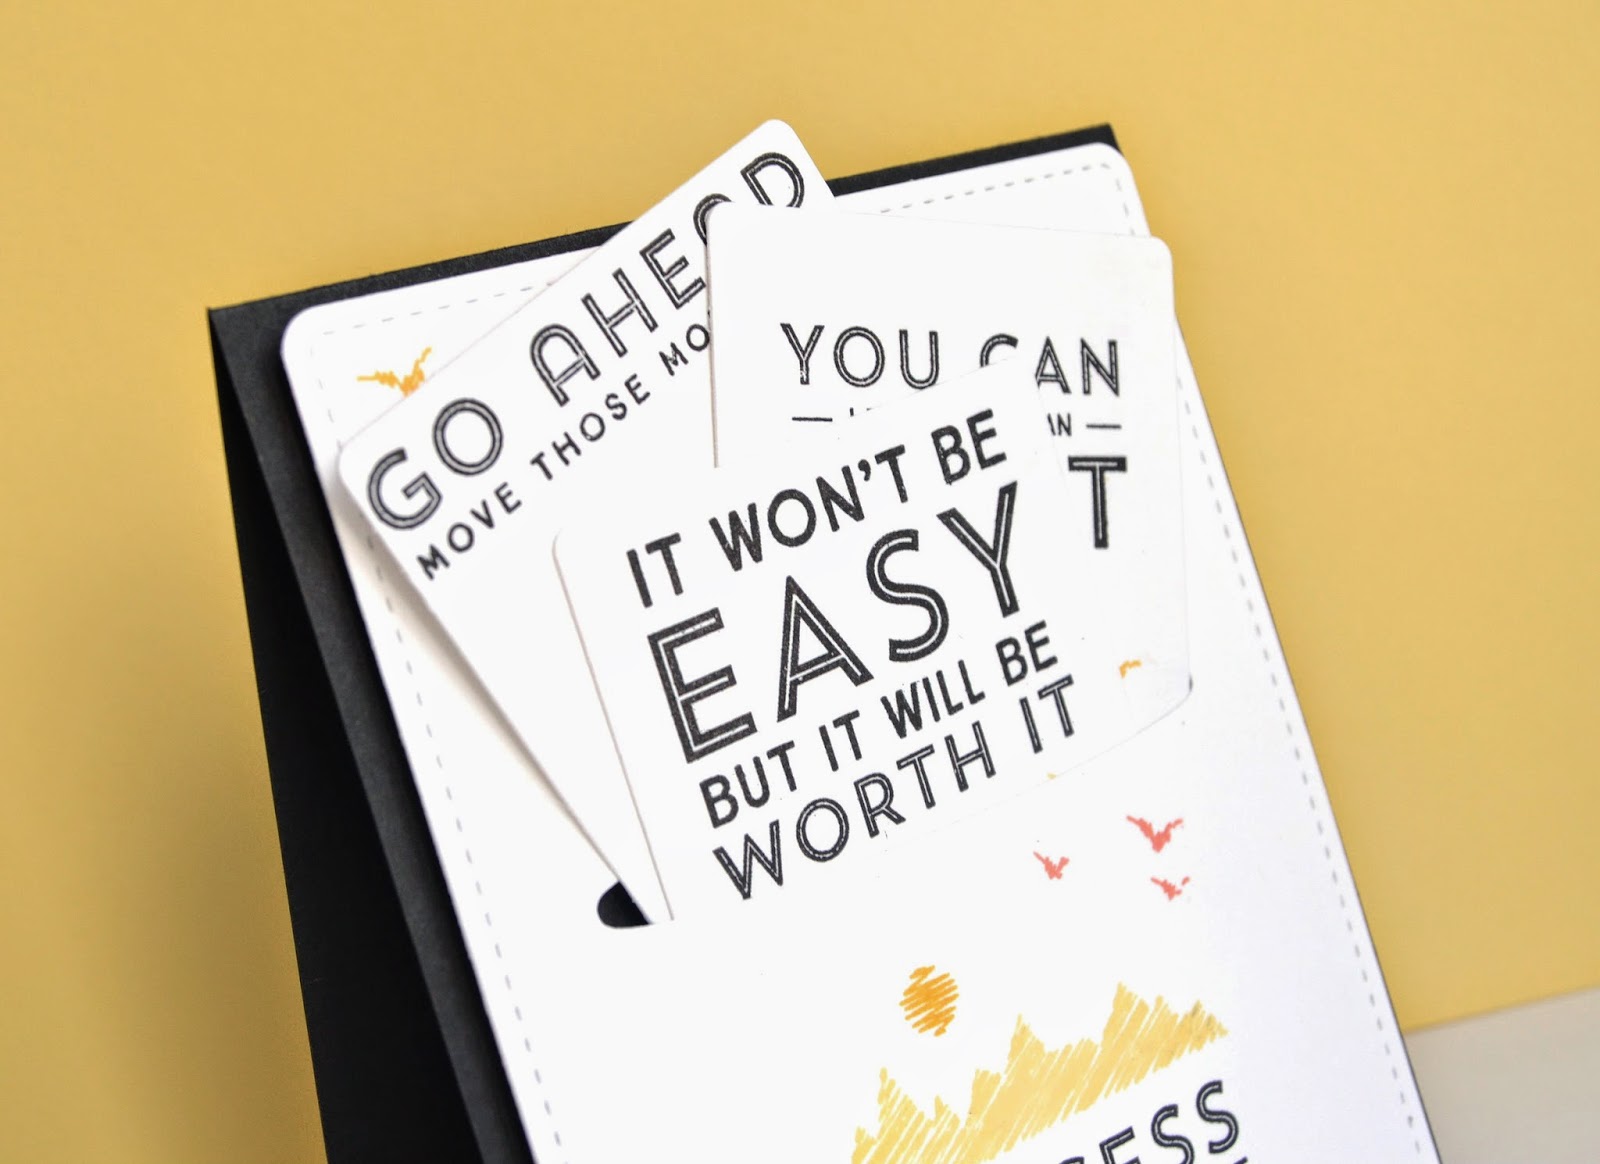
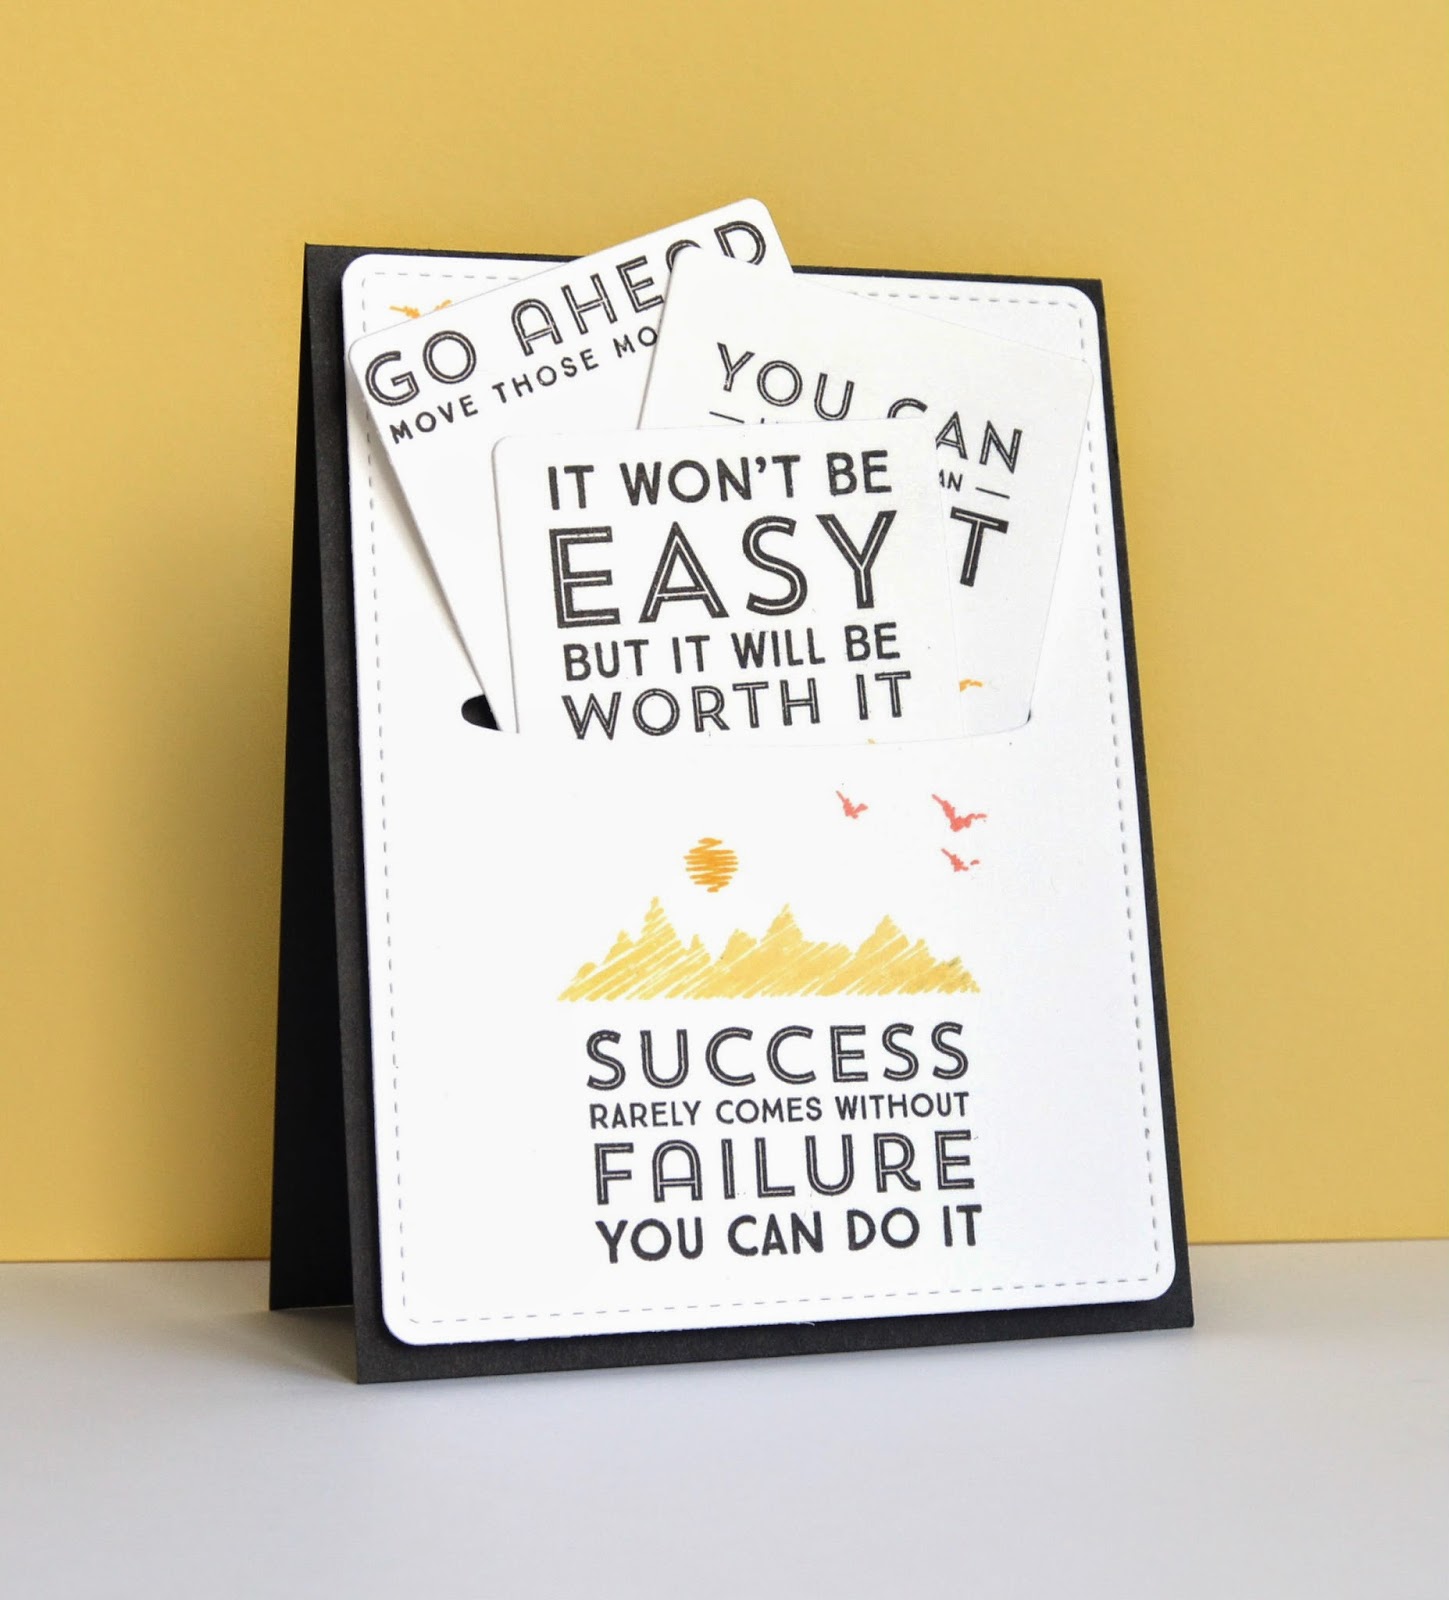
From time to time we can all use some Encouraging Words.  I love this new set and paired with some of the new release dies you can create a greeting card with some encouraging reminders to display or tuck away in your wallet.
 
 
I die cut a piece of white cardstock with the Love Mom Layers Dies, the rounded stitched rectangle.  I wanted to create a little pocket to hold the little encouragement cards.  I decided to use the rug die from Smart Kitty. 

 
Each of the little pull-out cards were die cut with a die from Love Showers Layers Dies.
 
The recipient can take these little reminders out and post them on a bulletin board, mirror, carry one in their wallet, etc.
 
 
Thanks for visiting!


Cardstock: WP9 White, Black
Stamps: WP9 Encouraging Words
Ink: WP9 Sweet Nectar, Wild Mango, Falling Star, Versafine Onyx
Dies: WP9 Love Mom Layers Dies, Smart Kitty, Love Showers Layers Dies

Monster Tags

Saturday, April 11, 2015

 
I couldn't help it.  When I looked at the dies in the Encouraging Words Die Set all I could see were monster teeth!  I decided to make a few fun birthday tags.  I posted them on Instagram and my friend's son already put dibs on one!
 
I started by die cutting the tag, from Love Showers Layers Dies, twice.  In one I die cut a circle, using Love Mom Layers, to create the mouth.  I backed the mouths with 'teeth' from the Encouraging Words Dies.  To create the monster 'eyes' I stamped to different circle images from Encouraging Words.  I added 'eyelashes' to the girl by partially inking a stamp from Botanical Bunch and the 'eyebrows' for the boy partially inking a stamp from Dream Believer!
 
The girl was dressed up with a cluster of flowers from Love Mom Layers Dies and a bow from Smart Kitty.  The boy got a simple bow tie from Smart Kitty.  The birthday sentiments are from Unforgettable.  Finally, the insides of their mouths were created by painting on WPlus9 Spray Mists {Girl: Sweet Nectar and Sweet Gelato, Boy: Lake House, Sweet Gelato, and Sweet Nectar}through a striped stencil and then die cut with Love Mom Layers circle die.

Nice to see you again. Thanks for visiting!
 

My Lucky Stars

Saturday, April 11, 2015


Good Morning!
Today I have a card to share that I made last night.  It's really simple, but so much fun.
The circles are from a new WPlus9 set called Encouraging Words.  The circles are meant to be moons, but have so much more potential than that!  Here I stamped them in White Pigment Ink and 3 shades of PURE Color Dye ink {Little Piggy, Sweet Gelato, and Cranberry Crush} on Kraft cardstock.  I added this large sentiment from WPlus9 Lucky Stars and die cut the panel with the Love Mom Layers Die.
 
 
I hope you have a relaxing weekend!


Other Supplies Used:
Versafine Black Onyx Ink

WPlus9 April Release Day 5

Friday, April 10, 2015


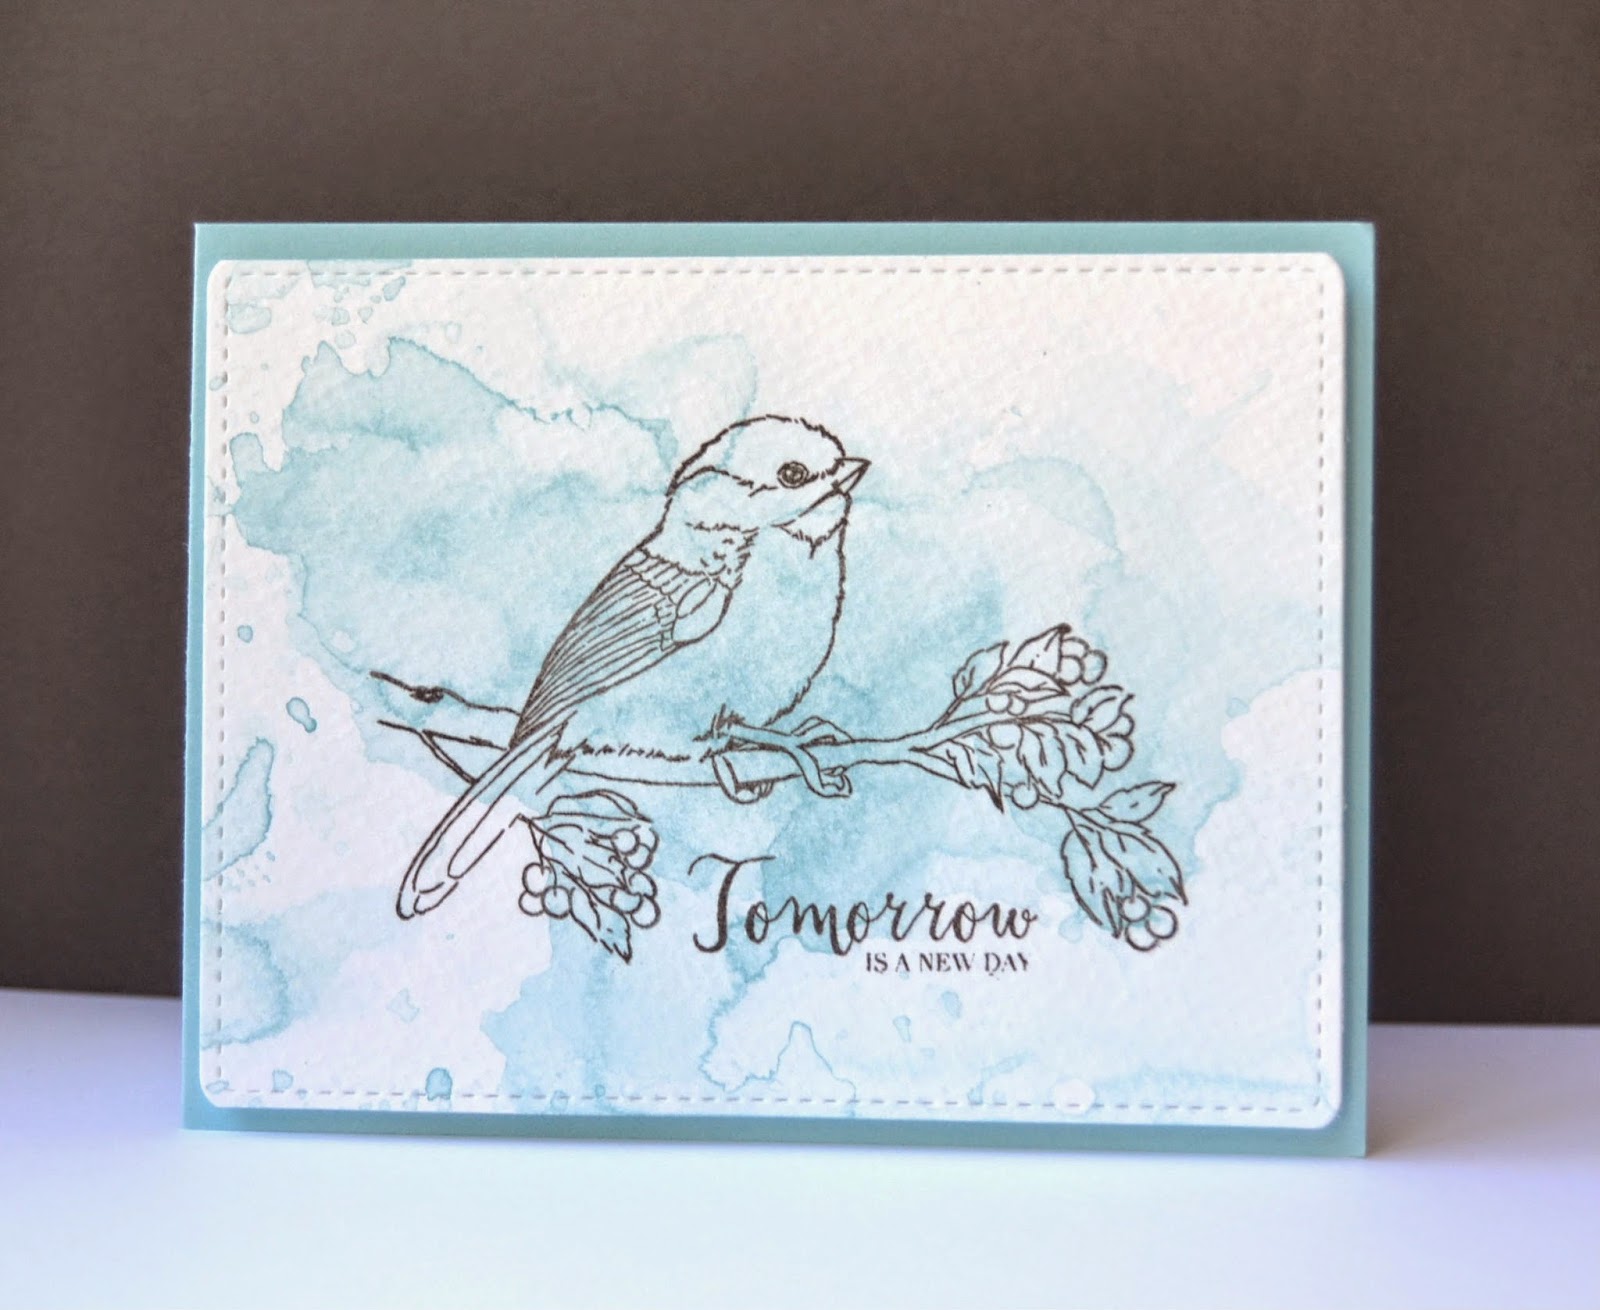
Today's card is a simple one.  The Lake House and Shimmer Spray Mist on watercolor paper was so beautiful I didn't want to add too much to this card.  This bird stamp, from A New Day, is so beautiful and so detailed, but allows the background to shine through.  It sets the perfect tone for the sentiment included in the set.  Simply die cut with the stitched rounded rectangle from Love Mom Layers and mounted on a Lake House card base it's done.
 
WPlus9 Supplies
Stamps: A New Day // Dies: Love Mom Layers Dies // Spray Mists: Lake House, Shimmer // Cardstock: Lake House


I hope you have enjoyed all of the projects during the April 2015 Release.  I am certain there will be many more projects to come!


Quick Tip: Create Your Own Shimmer Brush Pen

Thursday, April 9, 2015

 
Easily transform your WPlus9 PURE Color Spray Mists into a Brush Pen.  Fill an aqua brush or refill an empty wink of stella pen.  Here I have filled an aqua brush with the Shimmer Spray to create my own Shimmer Brush Pen! 
 

WPlus9 April Release Day 4

Thursday, April 9, 2015


Sweet Gelato is the perfect bright, vibrant pink.  My mom loves this color.  Anytime I sit down to make her a card I reach for this color.  Now it's available in a Spray Mist, along with several other great colors!  There are so many great techniques for spray mists.  You can create your own brush pen using an aqua pen or by refilling an empty brush pen, like I plan to do with the Shimmer Spray Mist.  Use them to color embossing paste, use them to create a watercolor background, use them with stencils, drip color on to create splatters.....endless!
 
 
 For my card today I have used two techniques. I started by die cutting some white cardstock with the large stitched rounded rectangle from the Love Mom Layers die collection.  I cut two circles from the same collection and stamped sentiments from the Love Mom stamp set.  This set would coordinate well with Strictly Sentiments 4, another Mother's Day stamp set. Onto each circle I adhered hearts that were die cut from the Stitched Heart Border die.  The hearts were cut from watercolor paper.  I added water to the paper before dripping Sweet Gelato and Bloomsberry Spray Mist onto it.  I let the water move and blend the color on the hearts. 
 
WPlus9 Supplies
 

Here's a closer look at the Spray Mists
 

 When they were dry, I adhered the hearts to the circles using foam tape.  Once the circles were adhered to the card front, I added some splatters from the same colors of spray mist and accented it with a few sequins. Finally, the card front is adhered to a Ballet Slippers card base.
 Thanks so much for visiting!
Be sure to visit Dawn, Joni, and Maureen for more of the


Other Supplies Used:
Versafine Onyx Ink
Pretty Pink Posh Sequins
Proudly designed by | mlekoshi playground |