Pages

12 Kits Of Occasions {July 2014}

Thursday, July 31, 2014

Christmas In July
Welcome to the July version of the 12 Kits of Occasions.
This month's hostess is Tracey.  She sent us a beautiful kit that for me was all about the beautiful papers from Webster's Pages, It's Christmas


Tracey gave us 2 for 1 with this cool tree die cut.
She included the negative piece as well as the positive and I put both to good use.
I used the positive above and the negative below as a stencil.
I added modeling paste to my card using the tree 'stencil' and before it dried I added some glitter.


This guy is so cute and with a glossy, sparkly scarf he really makes the card!


I wanted to use this stitched rectangle piece on my card, but the sentiment didn't go with the design.
I stamped my own sentiment and cut it down just large enough to cover the sentiment underneath, but small enough to allow the stitched detail to show.


I hope you enjoyed!
 
Next month {August} is my month to host.  My kits are already arriving at their destinations.
I will have a special guest designer as well as a GIVEAWAY that you won't want to miss.
More details later ;)
 
Make sure to stop by the 12 Kits Blog to see what our guest designer has created this month.
This month's guest is......... 
 
{click link and scroll to the bottom}

Supplies used that were not included in the kit:
Modeling Paste
Prisma Glitter
Glossy Accents
Copic Markers
Versafine Onyx Ink
PTI Peaceful Poinsettia Stamp Set
PTI Wonderful Words: Christmas Stamp Set
PTI Notebook Paper Die
Recollection White Cardstock 110 lb.

Sneak Peek {12 Kits July 2014}

Wednesday, July 30, 2014

 
Hi!
Just wanted to pop in and share a sneak peek of the cards and projects I will be sharing tomorrow for the 12 Kits of Occasions monthly reveal.  Tracey sent a kit this month and we are celebrating Christmas In July!
 
Until then you can check out previous month's kits and projects -----{HERE}
 
Today I am working on projects for the WPlus9 August Release!
So AMAZING!  I can't wait to share.  If you can't wait and want a few little sneak peeks, check out Dawn's Instagram feed.  She has been sharing some these past few days!

Wallpaper Stamping

Monday, July 28, 2014

 
What do you do when you're on the phone?
I pace, I doodle, I pluck my eyebrows {lol, I can't sit still}, and sometimes I come up with patterns....
I was poking the end of a pen into my hand and making this pattern out of circles and thought, "Hey, I'm going to try that on my next card!"
 
 
I used the small open circle from the original Polka Dot Basics stamp set.
Then I colored each circle with my Copics.
I stamped my sentiment over my background and embossed it with clear embossing powder to help it stand out.
 
 
This week's Make It Monday is focused on
stamping your own background or 'wallpaper'.
My wallpaper has a bit of a 70's flair to it.  Perfect for a young boy I think!

 
Thanks for stopping by.
Have a great week!


Cardstock: PTI White
Stamps: PTI Polka Dot Basics, SS Birthday
Ink: Memento Black, Versafine Onyx
Other: Copics, Clear Embossing Powder

A Sunday Hello

Sunday, July 27, 2014

 
Hello!
I hope you're having a great weekend.
Ryan went to the track for a car show and some races.
I opted to stay home and get a few things done.
While the laundry was doing its thing I finished my book and spent some time in my craft room.
 
 
I stamped this background using WPlus9's Borders & Backgrounds 4 in all of the colors from the South Beach Collection of dye inks.  The background was quite bold, but with this layer of vellum over top the colors seem quite subdued and dreamy.


I embossed a sentiment from Hand Lettered Hello in white
 and hid my adhesive behind the letters in 'hello'. 
Thanks for stopping by.
See you later!


Cardstock: White
Stamps: WP9 Hand Lettered Hello, Borders & Backgrounds 4
Ink: WP9 Dye Ink in Mojito, Ocean Drive, Flamingo, Miami Spice, Coconut Husk, Versamark
Other: White Embossing Powder, PTI Vellum

Papertrey Ink Blog Hop {July 2014}

Friday, July 25, 2014

 
This month's inspiration is a photo from which I chose my colors.
I started by stamping the US in Sweet Blush.  I wanted it to be a very subtle base for my compass rose so I stamped off once before stamping on my project.
 
 
To create my fancy compass rose I used
 the dotted detail stamps from Leave It Be.  I stamped the larger in Aqua Mist and the smaller in Hawaiian Shores. Then I added a die cut heart to cover the center.
 
 
I colored the die cut heart with Pure Poppy ink and a dauber
and popped it up with a foam dot.


Have a great weekend.
 
Check out The Friday Inspiration File for this week's beautiful inspiration!


Cardstock: PTI White, Pure Poppy
Stamps: PTI Leave It Be, Birds Of A Feather, Simple Alphabet, ME Geotagged
Ink: PTI Pure Poppy, Aqua Mist, Hawaiian Shores, Sweet Blush, Versafine Onyx
Dies: Heart Die
Other: Finger Daubers

Just Because {Create Fun Shapes With A Moon Stamp}

Tuesday, July 22, 2014

 
Hey Guys!
Just playing around with the supplies out on my desk.
I used a moon stamp to create some fun designs.
I colored them with Copics and added some Wink of Stella sparkle
..........just because.


See you later!


Cardstock: PTI White, Black
Stamps: PTI Out Of This World, SSS Handwritten Sentiments
Ink: Memento Black
Other: Copics, Wink of Stella Glitter Pen

Pink Star Nebula {Pastel Marbling Revisited}

Saturday, July 19, 2014

 
A while ago I made a card suing my pastel marbling technique that I just loved.
I decided I wanted to make a girl version!
 
 
Here are the direction again in case you missed them:
 
 
Steps for creating this marbled pastel background:
1. Fill shallow container with water
2. Use a craft knife to shave desired pastel colors onto water's surface
3. Swirl the colors together to achieve desired effect
4. Place paper onto surface of water and remove
{you can dip it more than once if you did not pick up enough color the first time}
5. Allow to dry and spray with a fixative to avoid smudging
 
 
For this card and the boy version I took it one step further. 
 I ran it through my Xyron sticker maker {colored side down}.
I carefully removed the release paper exposing the adhesive
and coated the entire piece in clear glitter.

 
This Faber Castell Pitt artist pen is perfect for fixing stamped impressions that don't stamp as solidly as you'd like, particularly with Versafine Onyx ink.  It makes it so easy to correct mistakes and is totally undetectable even on large sentiments and images.
I just love it!

 
Thanks so much for stopping by today.
Have an awesome weekend!
 

Cardstock: Recollections White, PTI Black
Stamps: PTI Out Of This World
Ink: Versafine Onyx
Dies: PTI Out Of This World, Fabulous Frames
Other: Pastels, MS Glitter, Xyron, Spray Fixative, Watercolor Paper, Faber-Castell Pitt Pen

Golden Butterflies

Friday, July 18, 2014

 
Yesterday I shared a technique I learned from Jennifer:
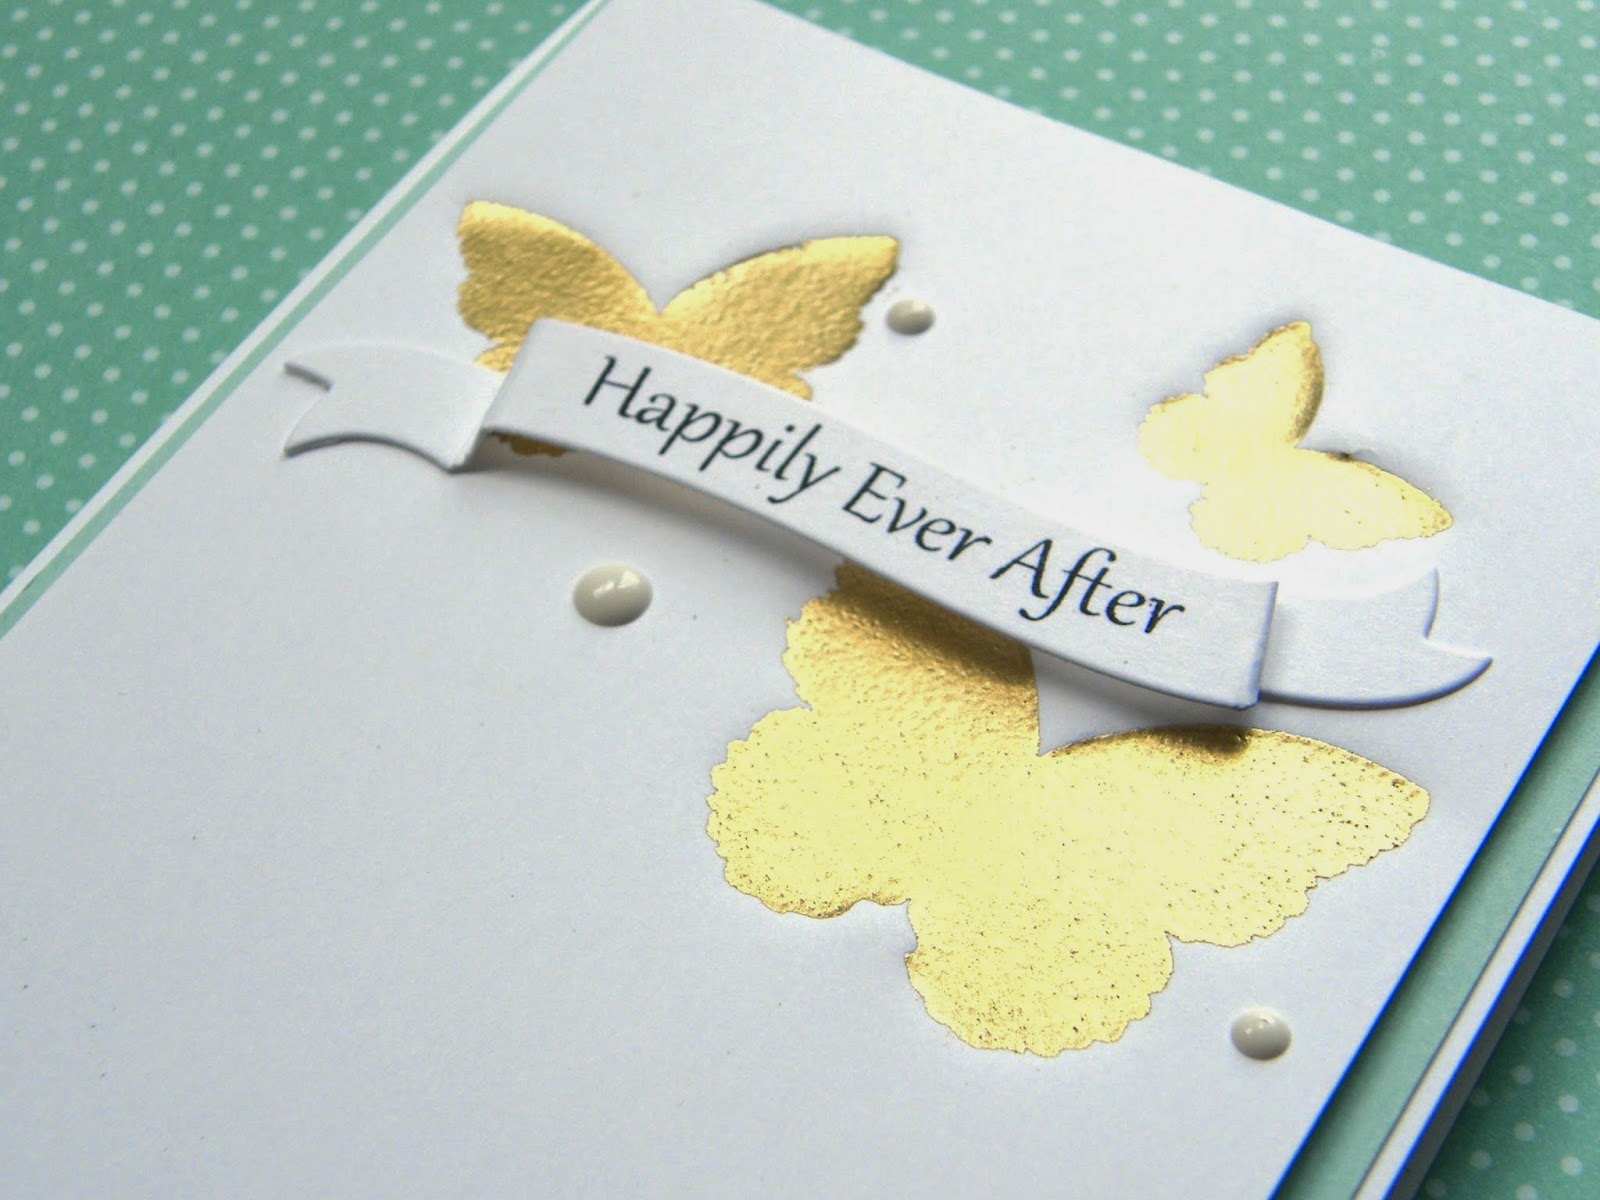
While experimenting with more than just the suggested pigment inks, I found that Versamark and heat embossing worked beautifully!
 
 
Coat one side of the wood veneer piece and place it face down onto the cardstock.
Run it through your die cutting machine.
Again, I'll share my sandwich with you for my Cuttlebug in case you missed it yesterday.
 
From Bottom to Top
A Plate
2 Tan Mats
Cardstock
Wood Veneer {Ink  Side Down}
C Plate
 
Sprinkle the versamark with embossing powder and heat.
 
The wood veneers make quite a deep impression!
I found that I had less paper cracking if I only ran it through once rather than through and then back again. 
This is what the cardstock looks like from the back after running through your machine.


Thanks so much for stopping by again today!
 
It's FRIDAY!
Don't forget to stop by the Friday Inspiration File for this week's beautiful projects!
I had to add a few products to my Craft Supply Wish List from this week's selections.


Cardstock: Recollections White, PTI Aqua Mist
Stamps: SSS Tilted Banners
Ink: Versamark Ink, Versafine Onyx
Dies: SSS Tilted Banner
Other: Gold Embossing Powder, Enamel Dots, Butterfly Wood Veneers
Proudly designed by | mlekoshi playground |